To create a personalized event experience for your attendees, it’s important that you collect relevant information from them during registration. To make this happen we have built a brand-new conditional logic feature within the custom registration form setup page. First of all, there’s no programming knowledge necessary to use this feature. If you’ve ever created rules for your email, then you’ll be really comfortable with our interface.
How conditional logic works
It lets you perform two actions if a condition is true. You can either SHOW a field to the user or HIDE a field from the user based on the value of another field.
For Example – If you are planning a corporate event provided with lunch, you can ask your attendees about their food preference (Veg or Non-veg). Based on their initial answer, you can now conditionally display sub-questions to collect specific details. In this example, when someone chooses Non-veg, you can conditionally display Meat, Fish, and Chicken as options to choose from.
Availability:
For paid events, this feature is available with the PRO plan. If you are Basic plan user, simply upgrade under account settings.
For free events, this feature is available with premium bundle plan. You will see an option to get a quote for the premium bundle with the conditional logic page.
Here are the steps to add conditional logic to your event registration page
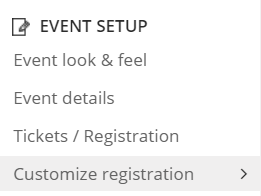
Step 1: Go to Events Manage Page then click on Customize Registration

Step 2: Next, you will find this option called to collect information from.
You have to either select buyer only or all attendees.

Buyer Only: By selecting this option, you can able to collect the information from a person who purchases the ticket.
All Attendees: Choose this option to collect the information from ease person who is attending the event. If a ticket purchaser selects this option then he/she has to fill out the information on behalf of each person (attendee) who is going to attend the event.
Step 3: Now, click on the add custom question button

Now you can view a pop-up box with different question types which include Small Text Box, Large Textbox, File Upload, Radio Button, Checkboxes, dropdown, and waiver. You can choose any one of these options based on your requirements.
Example: If you want to give multiple answering options for attendees then you will have to choose options like Radio Button, Checkboxes or dropdown.

Add Custom Questions to
collect the required information from attendees.
Click in the field under “question” to enter your custom question

If you have selected the question type as radio button, checkbox or drop down, you can add multiple options for your attendees to answer by clicking add another options button.

You can use below-mentioned options if you want to collect the information from specific ticket type(s) only or sharing the information to attendees while sending a confirmation mail.

Note: This is optional
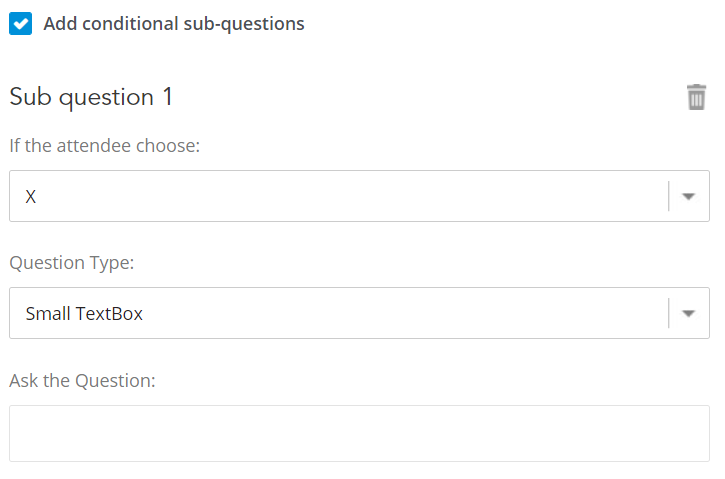
If your question has multiple choice of answers, tick on the “add conditional sub-questions” field to add a question based on the attendee’s choice of answer.
Example: If XYZ event has created a custom question as “Are you interested in purchasing our official merchandise t-shirt?” with Yes & No options, they can create a sub-question to show the t-shirt sizes available if the attendee chooses Yes option.

Tip: Avoid asking too many questions as there is a chance that your attendees may leave the page without registering.
Final step: Save the custom question by clicking the save button. If you want to create another custom question, you will have to click the add your custom questions button again in the customize registration page.
After creating custom questions, you can preview it on the check-out page.
It’s taken us a long time to build this feature and we hope you’ll enjoy all the details we’ve put into the conditional logic form builder for your next event.
Organizing an event? Try Eventzilla to create your event registration page in minutes.


